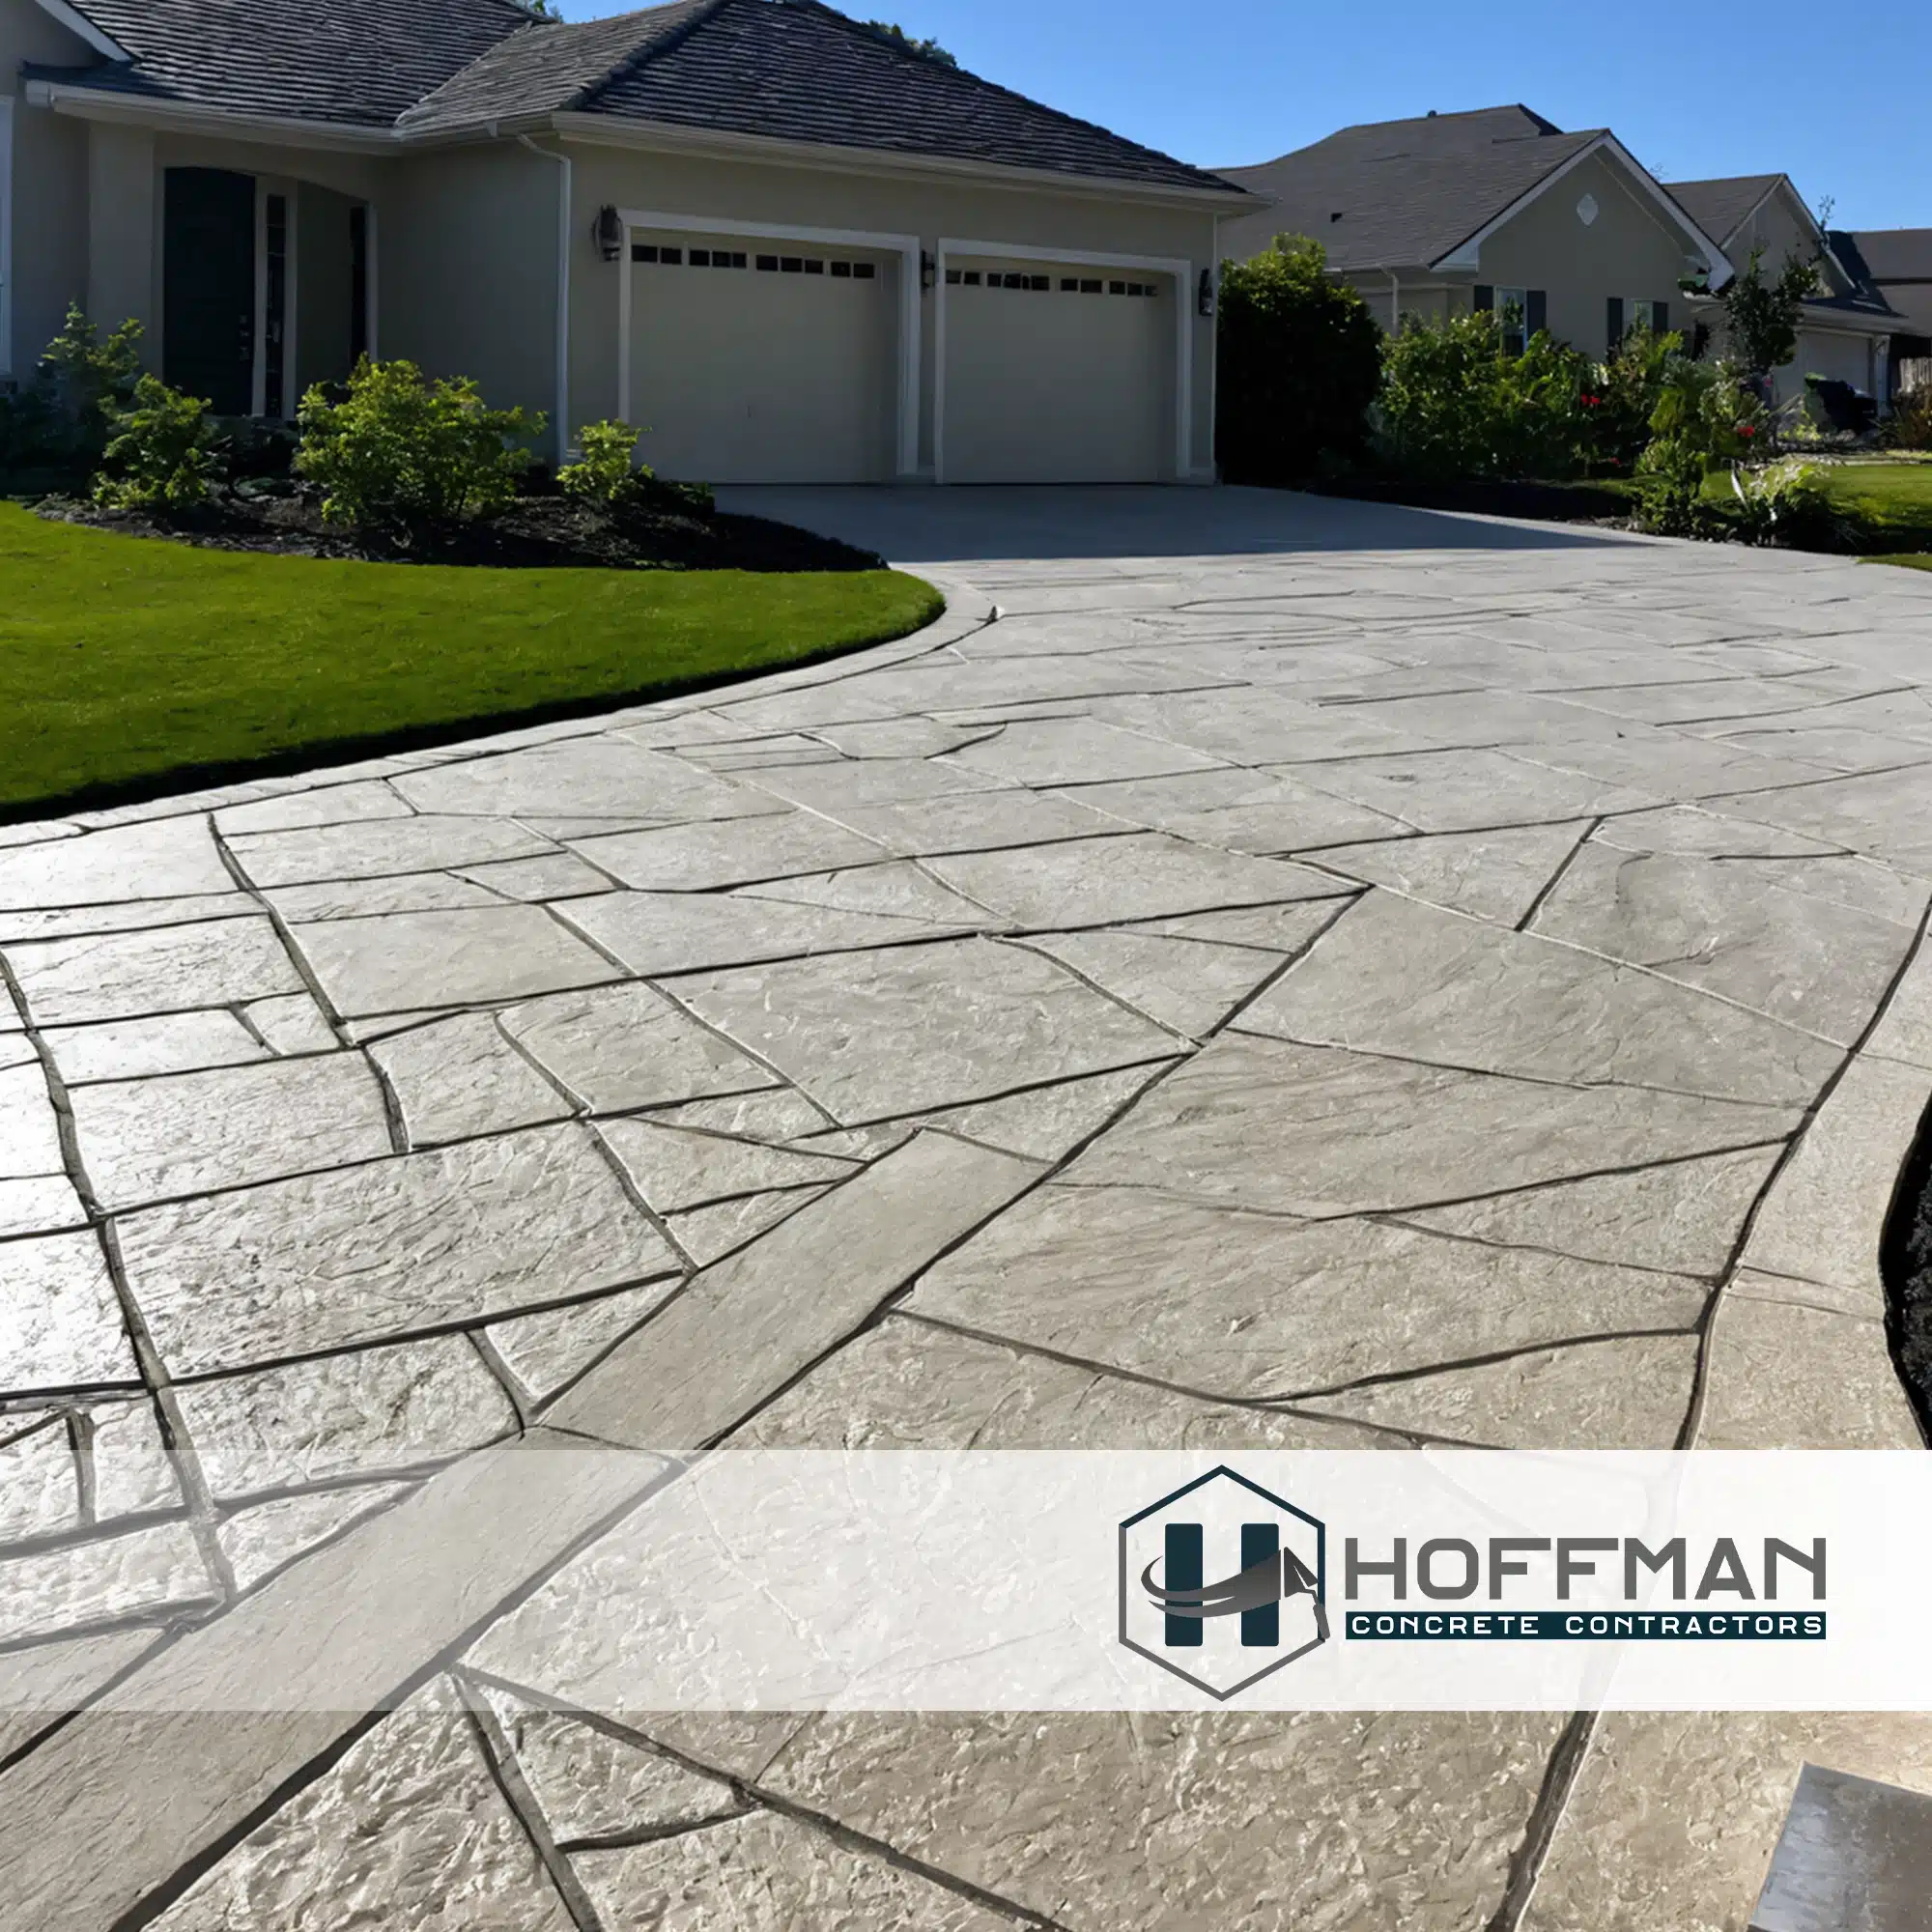
Choosing between a DIY approach and hiring professionals for walkway installation depends on various factors including budget, skill level, and desired outcome. A DIY project can significantly reduce costs, allowing homeowners to invest in materials and tools instead of labor. Those with a knack for home improvement may find the process rewarding, creating a personalized touch to their outdoor space. However, it requires careful planning and execution to avoid issues down the line.
On the other hand, hiring professionals can provide peace of mind and ensure high-quality results. Experienced contractors bring expertise, efficiency, and often access to better materials at competitive prices. For complicated designs or challenging landscapes, professional assistance can be invaluable. Weighing the pros and cons of each option can lead to the best decision for completing your walkway installation successfully.
Taking the DIY route for walkway installation can be a rewarding choice for those with a bit of creativity and a willingness to learn new skills. If the project is small in scale, such as a simple stone path or a basic gravel walkway, you may be able to handle it without hiring professionals. This approach not only saves money but also allows you to personalize the design to fit your outdoor space. The satisfaction that comes from completing a project yourself can add value to the experience.
If you possess some basic tools and a strong desire to work outdoors, you can tackle walkway installation with confidence. Consider your experience level with similar projects; those familiar with tasks like landscaping or minor construction will likely find this manageable. Additionally, if you have a flexible timeline and can dedicate weekends or evenings to the project, DIY might be the ideal choice. The effort you put in will enhance not only your walkway but also your skills as a homeowner.
For a successful walkway installation, having the right tools and equipment is crucial. A shovel will come in handy for digging out the pathway area. A level is essential to ensure the surface is even, while a wheelbarrow makes it easier to move materials around. Rakes and hoes can also be useful for leveling ground and removing debris. Additionally, if your walkway requires some edging, a handy edger will help define the boundaries and add visual appeal.
In terms of materials, consider using gravel, pavers, or concrete blocks, depending on your budget and desired look. A good quality landscape fabric can help prevent weed growth under the walkway. Don't forget about safety gear; gloves and knee pads will keep you comfortable while working. Having a compacting tool is beneficial for creating a sturdy base that will withstand wear over time. These items will significantly contribute to the efficiency and quality of your walkway installation.
When embarking on your walkway installation project, having the right materials at hand is crucial for success. Start with choosing the type of surface you want for your walkway, whether it's gravel, pavers, or concrete. Each option has its own set of requirements, so ensure you select materials that fit your budget and maintenance preferences. Don’t forget to consider edging materials, as these will help maintain the structure and prevent erosion over time.
In addition to your surface materials, you will need some essential tools to facilitate the installation process. A shovel and rake are fundamental for leveling the ground, while a tamper will help compact the surface to prevent shifting. If you’re using pavers, a rubber mallet can assist in settling them into place without causing damage. Finally, a level is necessary to ensure that your walkway is even and properly aligned, which will contribute to the overall quality of your walkway installation.
Begin your walkway installation by preparing the site. Remove any grass, weeds, or debris from the area where the walkway will be laid. It's essential to establish a clear path, so outline the edges using string or garden stakes. This will help you visualize the design and maintain straight lines. Once you have defined the walkway's dimensions, dig a trench to a depth of at least four to six inches. This will provide a solid base for your materials and prevent uneven settling over time.
Next, you will need to compact the soil in the trench. This gives your walkway stability and reduces the risk of shifting. After compacting, add a layer of gravel, approximately two to three inches thick. This layer should be leveled and compacted again for added support. Once the base is ready, you can start laying your chosen materials, whether they are pavers, stones, or bricks. Make sure to place them tightly together, aligning the edges for a clean finish. Continue this process until the entire walkway installation is complete, allowing for sufficient drying or settling time as needed.
Planning is the first step in the walkway installation process. Start by selecting the path you want the walkway to take. Consider factors such as foot traffic, surrounding landscape, and any potential obstacles like trees or shrubs. Measuring the dimensions carefully will help in determining the amount of materials needed and will ensure that the walkway fits well within the space. Remember to choose materials that complement your home’s aesthetic while remaining within your budget.
Once you have a plan, the next phase involves preparing the ground. Clear the area of any debris, grass, or plants that may interfere with the walkway. Level the ground to create a stable base. If necessary, add a layer of gravel for drainage and compaction. After the area is prepared, you can begin laying the materials according to your design. Take care to ensure that each piece is placed evenly, which will enhance both stability and appearance in the final walkway installation.
You can use materials like gravel, pavers, bricks, wood, or even repurposed items like old tiles or concrete slabs to create a budget-friendly walkway.
Consider your level of experience, the complexity of the project, your budget, and the time you can commit. If you feel confident and have the time, DIY can save money. If the project is complex or you lack experience, hiring a professional might be the better choice.
Essential tools include a shovel, rake, level, tamper, measuring tape, and possibly a saw or rubber mallet depending on the materials you choose.
The time it takes to install a walkway can vary widely depending on the size of the project and your experience level, but it typically ranges from a few hours to a couple of days.
Yes, you can build a walkway on a slope, but you may need to take additional steps to ensure proper drainage and stability, such as using retaining walls or selecting materials that grip well.
612 Painter St, Media, PA 19063
https://hoffmanconcretecontractors.com/
+16106386380
WJ82+88 Media, Pennsylvania
Open 24 hours
461 Rugby Rd, Birdsboro, PA 19508
https://hoffmanconcretecontractors.com/reading-pa/
+14849981139
Open 24 hours

Copyright © Hoffman Concrete Contractors - Media. All Rights Reserved